Hi all! As some of you know I have been working with silver for quite a while now, making my own findings for my beads and making special silver jewellery pieces for commissions and special orders. The Etsy shop has taken a bit of a back seat as have been quite busy doing the silver (and my doggy work too.)
I thought it might be nice to show you a bit of the process of making these items starting with the silver leaf scarf toggles I have been making most recently.
As always, the usual starting point is a drawing of some sort. This vine illustration was provided by my lovely client Zoe.
I then went out scurrying through the undergrowth for real ivy leaves for inspiration!!. You can see real leaves and scans of leaves that I have taped into my idea book.
Here's a close up... I try to really observe the detail and texture and start thinking about ways to replicate this in the silver...
What I did next was make a scale drawing of my chosen leaf. I liked this one's proportions. It was symmetrical to a point but each side wasn't completely the same so I thought it would look good when textured and shaped.
Next comes the silver sheet. It's always scary cutting into pristine silver sheet for the first time on a new project. But we get the saw out and get cracking...
This sheet is 0.7mm thick. It will be sturdy enough to hold a shape but thin enough to be shaped and textured successfully...
I trace around the outside of my shape and carefully saw round
Sometimes I clamp the sheet in my vice for the tricky bits... (And always have a big cup of tea handy that you can see behind!!..)
Here is my favourite file and piercing saw that I use most of the time... These are my 'go to' tools. I would be lost without them!
Finished shapes...all done!
Next - my favourite bit begins. I love to create the texture on the piece and bring it to life!!
I use a customised tool (which was once a screwdriver that I have sharpened, shaped and hardened through tempering,) to cut the vein lines into the silver.
I vary the impression depths to try to make the marks as life-like as possible.
Below you can see what's left of the silver sheet, but nothing gets wasted. I will use the excess in another project.
I come at the shape from different angles and make sure I am happy with the look as it is progressing...


The next bit involves a nice rawhide hammer and a metal hammer with a few metal punches and some curved soft surfaces to hammer on to. At this point to are trying to encourage bends and curves in the metal which reflect the natural shape in the leaf. This is quite tricky as silver is much harder to subtly bend and shape, but bit by bit the shape appears... Baby steps!!..
(I don't have any pictures of this bit as everybody in the house had gone to bed the other night so I couldn't get any pictures taken!)
I use the suede sandbag pictured a few photos up and hammer down into it to get more life like curves onto the leaf surface. I also use different sized ball bearings held in a vice and bend the silver around them...
It's also important to study the real leaves really carefully at this point and curl the edges over where they naturally curl in real life...
Once I am happy with the shape and movement of the overall leaf I use the mini blow torch to solder on the stalk to the leaf and the ring where the scarf will go through .
It's important to make sure that there are no rough bits and the added pieces are nice and secure and tidy looking...
Next I put the pieces through an oxidising or blackening process to bring out the veining and details more.
It involves turning the whole thing black using some very hot water and a 'liver of sulfur' solution which smells soooo bad!
Then bit by bit I polish to bring back the shiny bits.
The final polishing phase comes next... I use a mixture of polishing papers, sticks and tools to bring the finish up to a lovely silvery shine.
The whole thing takes a bit of a while but I think it is worth it..;-)
The pictures below show the finished pieces.


And here are my finished designs!

Many thanks for visiting my blog...
Next time I will get my photographer to stay up a bit later and get a few more shots!! xx
 This is going to be a short and sweet one! Just showing some little sculptural flowers that I did a while ago...


 The next bit involves a nice rawhide hammer and a metal hammer with a few metal punches and some curved soft surfaces to hammer on to. At this point to are trying to encourage bends and curves in the metal which reflect the natural shape in the leaf. This is quite tricky as silver is much harder to subtly bend and shape, but bit by bit the shape appears... Baby steps!!..


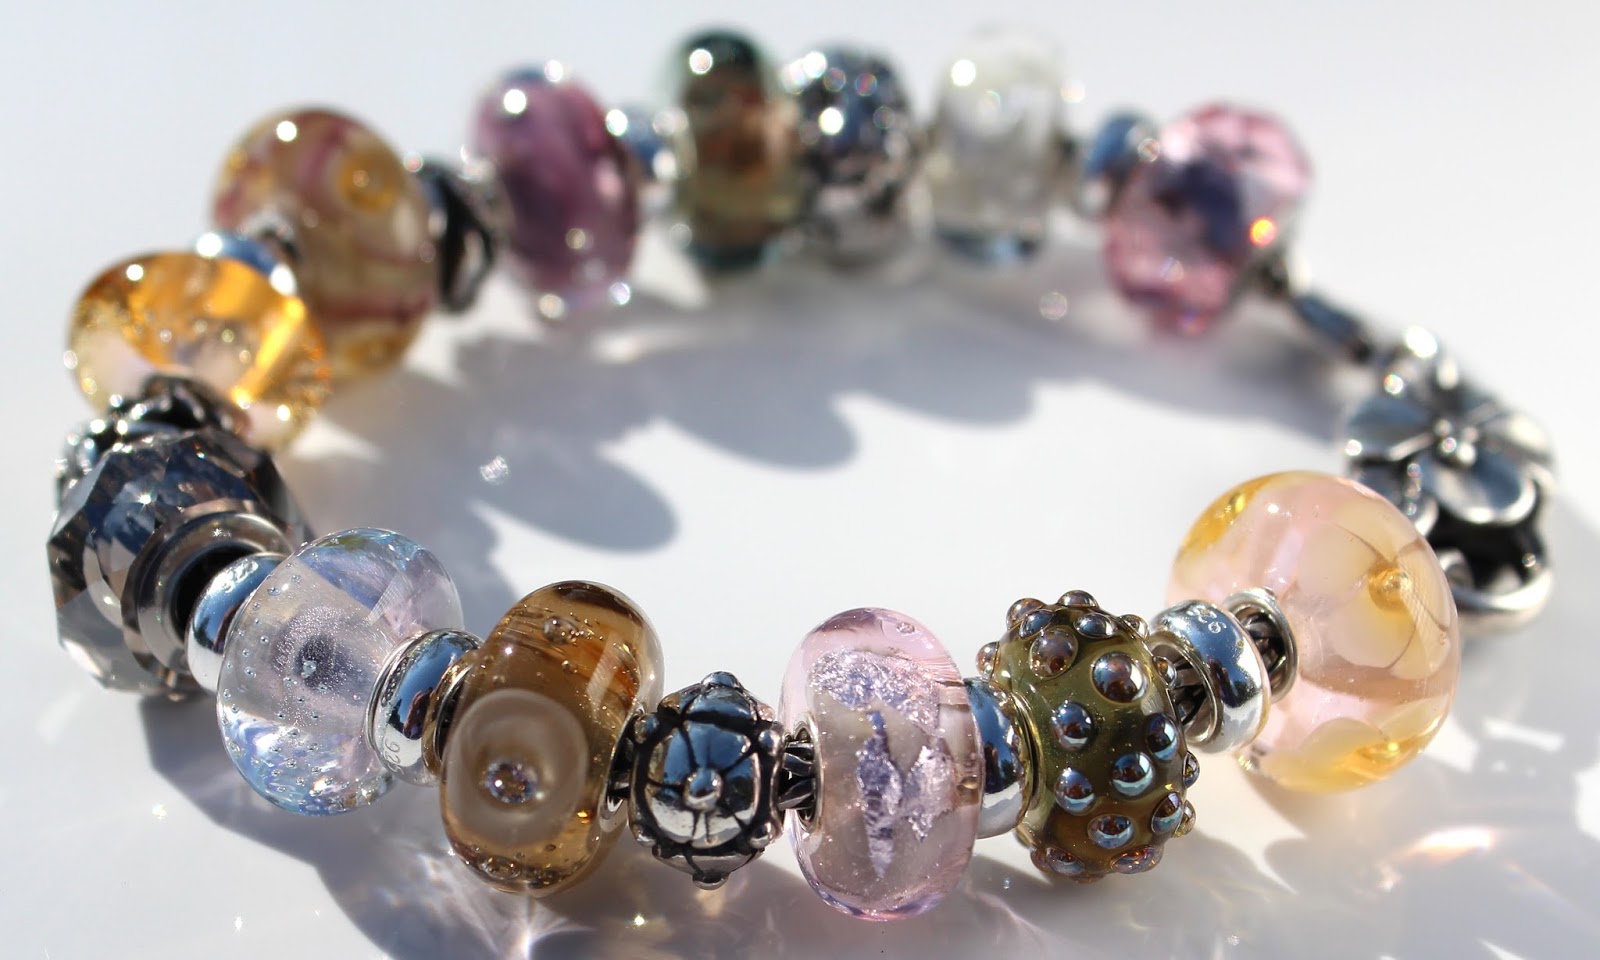
 Here is the dress and a close up of the fabric. You can see that what ever jewellery is worn with it has to work with the colours of the fabric itself and the colours of the shadows that naturally fall as the dress is in two layers. The holes are quite defined on the bare skin part of the dress as well which means that my client's skin tone will also alter the look of the colour too.


